How to install
adminShare
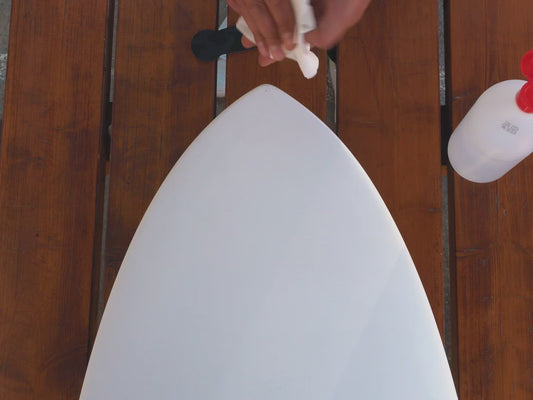
RSPRO has been specially designed for an easy installation and removal. Have a look at our instructional video to do it. It's a kid's game!.
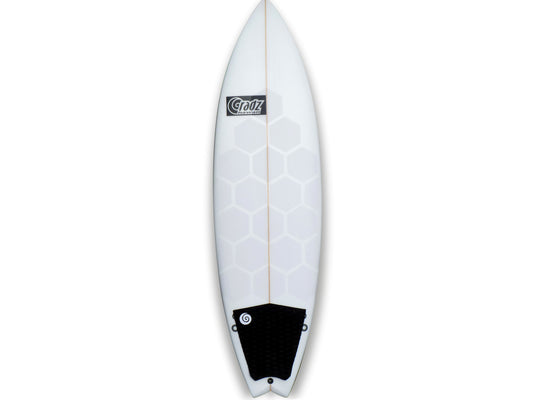
Super-easy, flexible, repositionable during installation, no bubbles. The definitive board protection with style. Enhance and keep your board value.
TIPS for a perfect fit:
- Unroll the rail savers and place on at each side of the board.
- Mark with a pencil the center of the rail saver.
- Before removing the backing, place the center of the rail saver at the center of the board rail and extend it to the nose, mark the board with a pencil where the start of the rail saver should be. Now you have the perfect placing longitudinally.
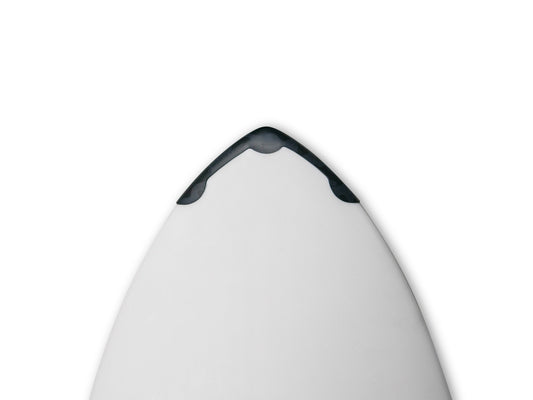
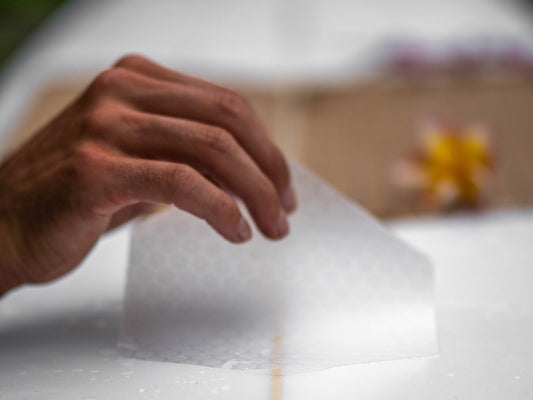
- Start peeling the front side of the rail saver and start sticking it where you marked the board and on the edge of the board rail (this is the more external part of the board, and where all impacts will take place). Follow the board edge until the end.
As you can see at the video it's easy to reposition while installing it, but once it's fixed, after some time, it can't be repositioned again. We recommend to wait for 6 hours before going to the water.
If you need to remove it, we advice to apply some heat with a hairdryer or heatgun to soft the adhesive and to make it easier.