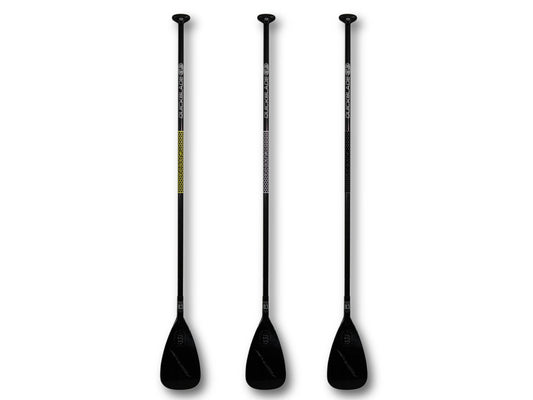
Dry vs. Wet Installation for Rail Savers: What Works Best for You?
Carles CarreraYou just unboxed your new RSPro rail savers. You’re excited to get them on your board… but now comes the big question:
Should you go with a dry install or a wet one?
One method might seem quicker and cleaner. The other gives you more flexibility to get the alignment just right. But here’s the truth: with RSPro, what matters most isn’t whether you go dry or wet—it’s how well you install it.
A proper installation is what really makes the difference. Done right, you’ll get a clean, bubble-free finish that lasts season after season. Done wrong, and you could run into peeling edges, poor adhesion, or misalignment.
RSPro rail savers are designed to stick, stay, and protect—whichever method you choose. Just follow the right steps for your conditions, and you’ll get pro-level results every time.

Why Installing Rail Savers Properly Matters
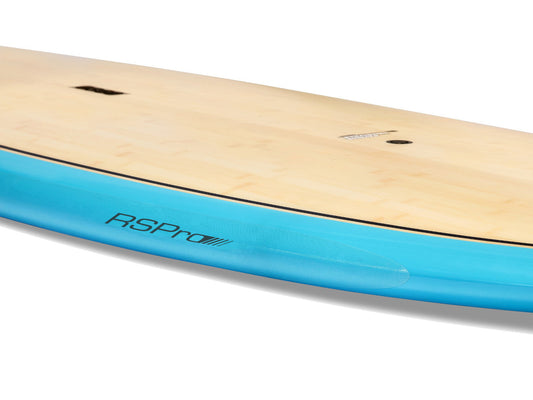
RSPro rail savers are engineered to protect your board’s rails from chips, paddle strikes, and everyday wear. But no matter how durable they are, the installation is what makes or breaks their performance.
A good install means:
- Strong long-term adhesion
- Clean look with no bubbles or wrinkles
- Maximum impact protection where it matters most
A bad install? Misalignment, poor grip, and a protector that won’t last. So let’s talk about your options.
Dry vs. Wet: Two Ways to Install Rail Savers
There are two main ways to install RSPro rail savers:
Dry Installation — RSPro’s Recommended Method
Dry install is the go-to method we recommend at RSPro. It’s fast, clean, and if done correctly, guarantees a long-lasting result.
Wet Installation — A Great Option for Some Users
While we usually suggest the dry method, there are a few cases where wet installation can be a better fit—especially for beginners or boards with delicate coatings.
Let’s break them down in more detail.
How to Install RSPro Rail Savers — Dry Method (Step-by-Step)
Best for: Most users, most boards.
Conditions: Do it in a warm space (above 20ºC / 68ºF). Ideally above 25ºC / 77ºF.
Dry Method Steps:
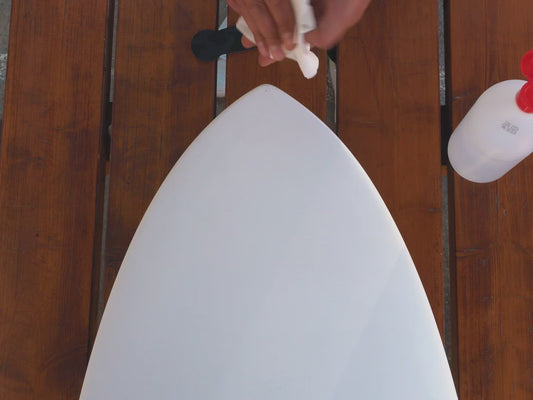
1. Warm things up
If the room is cold, gently warm the rail savers using a hairdryer or heat gun. Warmth makes the material more flexible and the adhesive more effective.
2. Unroll and align
Place both bands loosely along each rail of your board to visualize placement.
3. Mark the center
Use a pencil to mark the center of each band and the center of the board rail.
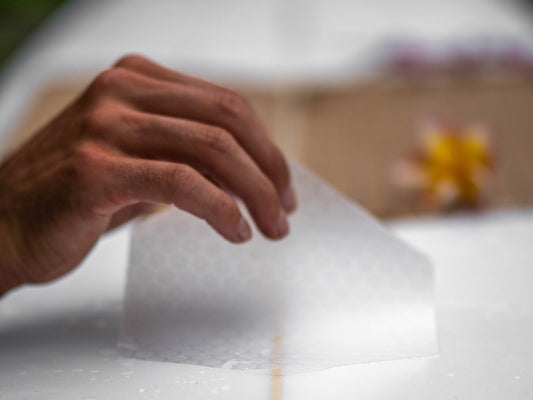
4. Dry-fit the band
Without peeling the backing yet, align the center of the rail protector with your center mark on the board. Stretch it gently toward the nose and mark the starting point.
5. Peel and stick
Begin peeling the backing from the front end of the rail saver. Press it down at your starting mark, sticking it along the outer edge of the board (this is where most impacts occur).
6. Follow the rail
Keep the band aligned with the rail edge as you press down gradually along the length of the board. Use your hands, the integrated carton squeegee in the packaging or a soft cloth to apply pressure and remove any air bubbles.
7. Final heat (optional)
For best adhesion, go over the installed rail savers with gentle heat once more and press firmly.
When to Use Wet Installation Instead
Best for: Fragile paint jobs, ultra-expensive or ultra-cheap boards, nervous first-timers, cold conditions.
Conditions: Ideal when you want more control over placement
What you’ll need: Clean water in a spray bottle, a soft squeegee or credit card, and patience.
Wet Method Steps:
1. Spray lightly
Mist clean water directly onto the rail of your board. Don’t soak it—just a light layer will do.
2. Place the band
Peel the backing and apply the rail saver to the wet surface. The moisture allows you to slide and reposition it without committing right away.
3. Adjust placement
Once you’re happy with the positioning, hold it in place and start removing the water underneath using a soft squeegee or similar tool.
4. Let it dry
Leave the board in a warm, dry place. Any leftover water will evaporate within a few hours.
⚠️ Note: Avoid using harsh soaps or surfactants in the water—just clean water is enough.
So, Which Installation Method Should You Choose?
There’s no universal answer. Here’s a quick guide:
| Situation | Dry Method | Wet Method |
|---|---|---|
| Confident DIY installer | ✅ Best choice | ❌ Not necessary |
| Cold environment | ✅ With added heat | ✅ Works too |
| Fragile or soft coating | ⚠️ Caution | ✅ Safer option |
| Want room to reposition | ❌ Not ideal | ✅ Recommended |
| Need it fast | ✅ Quick & clean | ❌ Needs drying time |
Common Mistakes to Avoid
- Installing in a cold room – Adhesive becomes harder to work with
- Skipping alignment marks – Leads to crooked placement
- Using dirty or oily hands – Reduces bond strength
- Touching adhesive too much – Can weaken stickiness
- Rushing through the process – Patience pays off
Final Thoughts — Protect Your Rails Like a Pro
Installing your RSPro rail savers the right way isn’t complicated—but it is important. Whether you go dry or wet, take your time, prepare your surface, and follow the steps that match your conditions and confidence level.
More video examples:
Either way, you’ll get a clean install that keeps your board protected for years.
Protect your board like a pro—choose your rail saver now. Shop the Collection →
Want More Help?
Have questions or want to show off your install?
Tag us @rspro_water on Instagram, or drop us a message. We’re always stoked to see our products out in the world.